SKYLINE MEDIA CENTER
  • Home
  • Lights, Camera Read
  • Library Links
    • Destiny - Library Catalog
    • Got Fines?
    • SORA - Ebooks
    • Request a Book
  • Tech Links
    • Technology Help for Students
    • Canvas
    • Tech Tip Tuesday Blog
    • Software Information
    • Passwords
    • Student Email
    • Research Tools >
      • UEN and Noodle Tools
      • News or Not
    • Digital Citizenship
  • Skyline Home
  • Research Tools

Getting Snip & sketch on my toolbar

3/24/2021

0 Comments

 
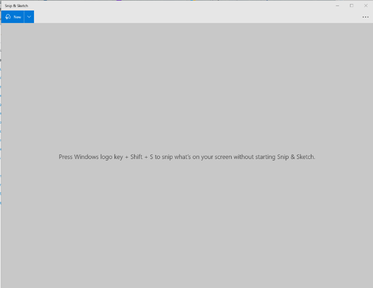
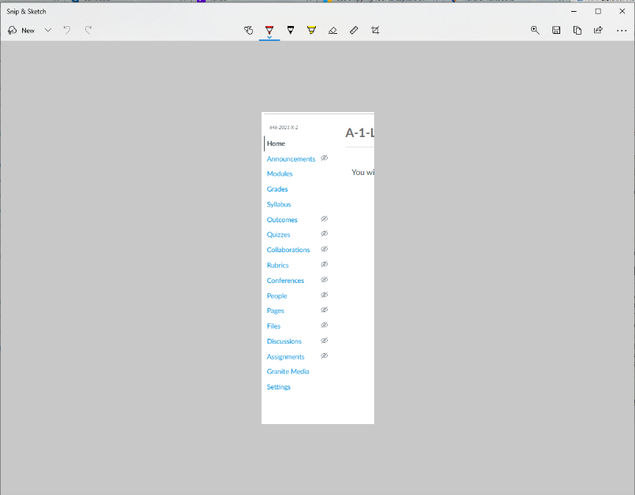
​How do I get the Snip & Sketch tool on my toolbar?
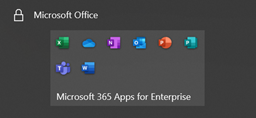
  1.  Find the Snip & Sketch through the start menu.
  2. Highlight (by floating over the words), and right click.
  3. Click on More and choose Pin to Taskbar.  You can also, pin to Start if you prefer.
Picture
0 Comments

Using snip & sketch for screenshots

3/24/2021

0 Comments

 
​Have you ever wanted to save a screenshot for later, but have always had to drop it into a document or some other form to save it?  Here is a way to use the Snip & Sketch tool to save screenshots and use them in another document later.
  1. Go to Start and locate Snip & Sketch
Picture
      2.   Click on the name.  It will open the Snip & Sketch app.
Picture
     3.  In the top left corner click on “New”.  This will gray out your screens and give you the crosshairs.  Which you can then drag to incorporate the part of the screen you want in your image.
     4.  Once you let go it will open the Snip & Sketch window and give you the options to mark up and, save the image.
     5.  You can then click on the floppy disk icon in the top right and save to a file of your choice.
Picture
     6.  The shortcut keys for using Snip & Sketch are Shift +Windows +S.  These will work if you want to use a screenshot in a document you are creating and already have it open.
             a.  You can drop it directly into your document using the Ctrl +V paste shortcut.
​             b.  However, this will not give you the mark-up tools that are available, nor the option to save in another location.
What if I want a Screenshot of both screens?
  1.  This can also, be done but without the use of the Snip & Sketch tool.
  2. Use the Windows key +Print Screen.
  3. The screens will flash gray and take the capture of both screens.
  4.  This version will automatically save the screen shot (of both screens) in your Windows Pictures Folder under Screenshots.
Picture
0 Comments

    Categories

    All
    Canvas
    Google
    Google Drive
    Gradebook
    Grades
    LanSchool
    Loom
    Microsoft
    Miscellaneous
    Phone
    Powerpoint
    Screencastify
    Snip & Sketch
    Teams
    Zoom

    Archives

    February 2023
    November 2022
    November 2021
    October 2021
    September 2021
    April 2021
    March 2021
    February 2021
    January 2021
    December 2020
    November 2020
    October 2020
    September 2020

    RSS Feed

Powered by Create your own unique website with customizable templates.