Have you ever wanted to save a screenshot for later, but have always had to drop it into a document or some other form to save it? Here is a way to use the Snip & Sketch tool to save screenshots and use them in another document later.
- Go to Start and locate Snip & Sketch
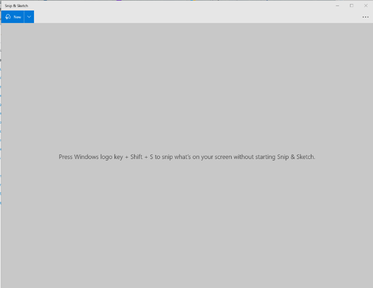
2. Click on the name. It will open the Snip & Sketch app.
3. In the top left corner click on “New”. This will gray out your screens and give you the crosshairs. Which you can then drag to incorporate the part of the screen you want in your image.
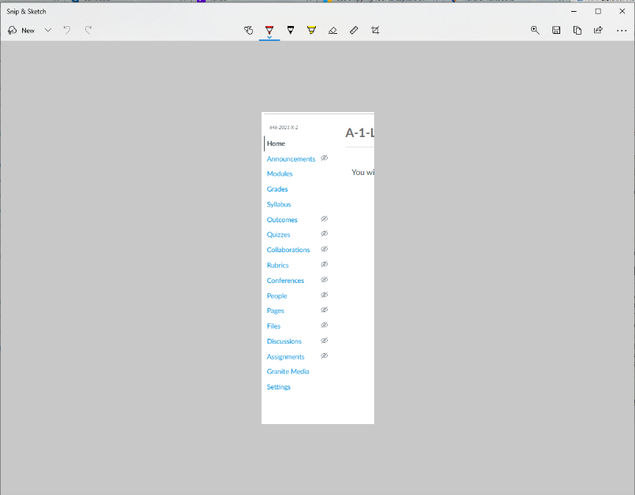
4. Once you let go it will open the Snip & Sketch window and give you the options to mark up and, save the image.
5. You can then click on the floppy disk icon in the top right and save to a file of your choice.
4. Once you let go it will open the Snip & Sketch window and give you the options to mark up and, save the image.
5. You can then click on the floppy disk icon in the top right and save to a file of your choice.
6. The shortcut keys for using Snip & Sketch are Shift +Windows +S. These will work if you want to use a screenshot in a document you are creating and already have it open.
a. You can drop it directly into your document using the Ctrl +V paste shortcut.
b. However, this will not give you the mark-up tools that are available, nor the option to save in another location.
a. You can drop it directly into your document using the Ctrl +V paste shortcut.
b. However, this will not give you the mark-up tools that are available, nor the option to save in another location.
What if I want a Screenshot of both screens?
- This can also, be done but without the use of the Snip & Sketch tool.
- Use the Windows key +Print Screen.
- The screens will flash gray and take the capture of both screens.
- This version will automatically save the screen shot (of both screens) in your Windows Pictures Folder under Screenshots.


 RSS Feed
